

OpenAI 的 GPT-3、GP…

使用宝塔Linux 7.7.0 C…
https://www.deepl…
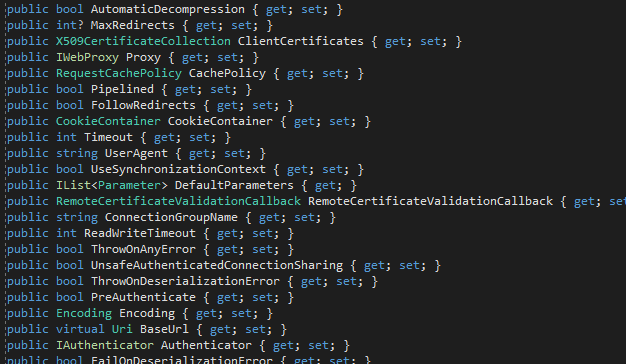
RestSharp
EM经常会莫名其妙的无法登陆。 卸…
set RANDFILE=C:.r…
早起的鸟儿没虫吃。